Unlock hundreds more features
Save your Quiz to the Dashboard
View and Export Results
Use AI to Create Quizzes and Analyse Results

Sign inSign in with Facebook
Sign inSign in with Google

FFXIV E11S Raid Mechanics Quiz

Test Your Skills with E11S Raid Mechanics

Difficulty: Moderate
Questions: 20
Learning OutcomesStudy Material
Colorful paper art promoting FFXIV E11S Raid Mechanics Quiz.

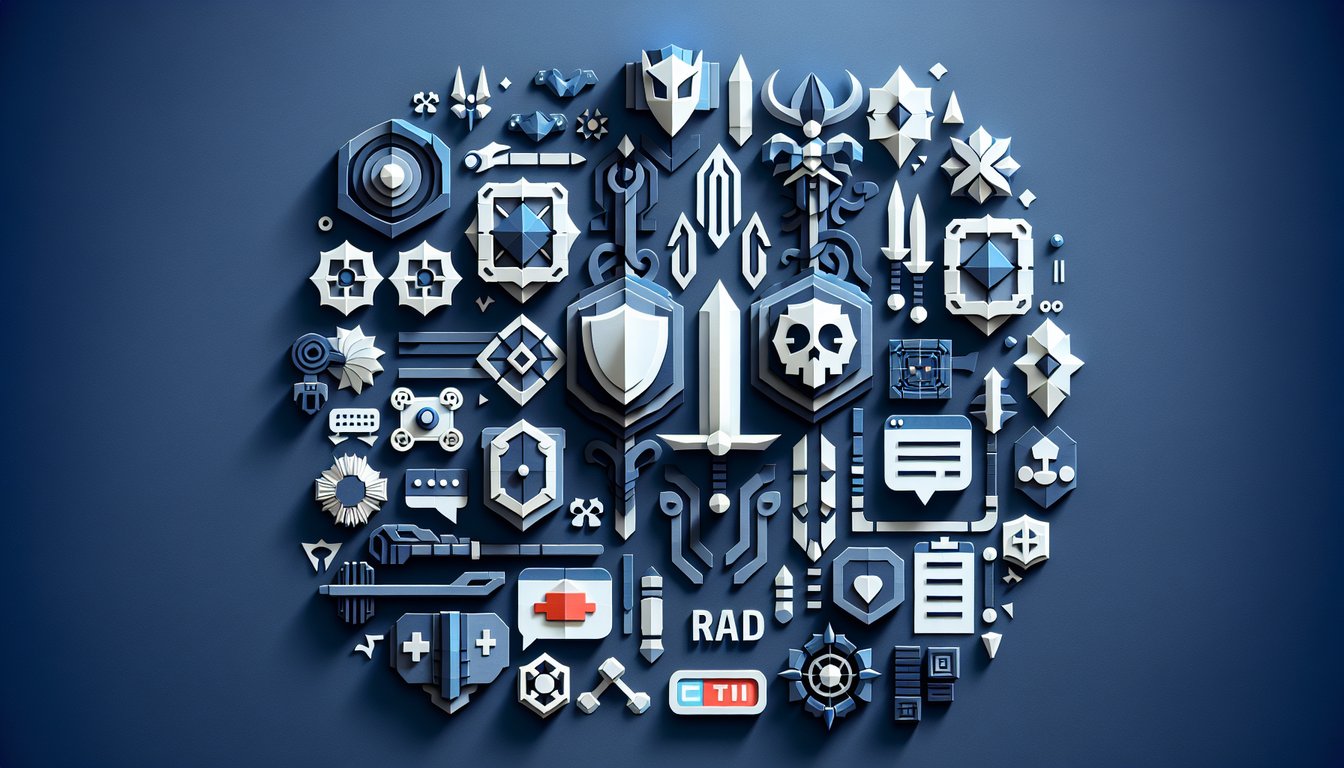
Ready to master the complexities of Eden's Promise Savage? This raid mechanics quiz is perfect for FFXIV adventurers wanting to deepen their boss strategy knowledge. Inspired by titles like Alexander Raid Mechanics Quiz and Video Game Mechanics Knowledge Quiz, it covers critical E11S phases with precision. You'll gain sharper awareness of timing, positioning, and cooldown usage to elevate your raid performance. Feel free to adapt any question in our quizzes editor for custom practice.

Which boss ability applies a stacking raid-wide damage buff at the start of Phase 1?
Astral Surge
Void Collapse
Gravity Well
Singularity
Astral Surge is cast as the first major ability in Phase 1, granting the boss a stacking damage increase that raises the raid's damage taken throughout the encounter. The other listed mechanics occur later or have different effects.
During the "Solar Flare" raid-wide AoE, players should place themselves:
Tightly stacked at the boss's feet
Spread evenly to the room edges
Grouped in the four corners
Behind the boss out of sight
Solar Flare is a raid-wide AoE damage mechanic best mitigated by stacking tightly at the boss's feet so that healing and damage mitigation can be focused efficiently. Spreading out or hiding behind the boss will lead to inconsistent healing coverage.
How should the tank position the boss to properly handle the "Photon Beam" frontal cone?
Facing boss away from the raid
Facing boss toward the raid
Facing boss toward the west wall
Facing boss into the center of the arena
Photon Beam is a high-damage frontal cone that the main tank must face away from the group to avoid cleaving the raid. Facing into a wall or the center can cause accidental damage to players.
When should healers use their major cooldowns to mitigate the boss's "Void Collapse" mechanic?
Just before the "Void Collapse" cast
Immediately at the start of the fight
Right after the first add wave
During the final phase only
Major healing cooldowns are most effective when used just before the Void Collapse cast lands, ensuring maximum mitigation of the heavy raid-wide damage. Using them too early or too late reduces their impact.
What percentage health does the boss reach before spawning the first set of adds?
50%
75%
25%
90%
The first add wave spawns exactly at 50% boss health during the phase transition. Other percentages correspond to different mechanics.
During the "Gravity Well" mechanic, players are tethered to orbs that explode. What is the correct way to handle this mechanic?
Spread evenly to the room's edges
Stack in the center
Gather tight in a corner
Group in pairs
Gravity Well tethers players to orbs that deal high damage if clustered; spreading evenly to the room edges maximizes distance between explosions and reduces overlap damage. Clustering or grouping in corners increases risk of overlapping damage.
The "Nebula Spikes" mechanic marks four players for a stack AoE. Where should these players run to ease healing?
Four cardinal points around the arena
The center of the platform
Each corner of the room
Behind the boss
Running the four spike markers to the cardinal points splits the damage cleanly and prevents overlapping stacks, making it easier for healers to restore health. Gathering at corners or the center risks overlapping damage.
For the tank mechanic "Entropic Crush," when should tanks perform a swap?
On the second stack application
Every single cast
Only at the start of the fight
At 75% boss health
Entropic Crush applies a stacking tank debuff; the correct swap is on the second stack to prevent the debuffs from becoming unmanageable. Swapping on every cast or unrelated health thresholds is inefficient.
Which cooldown rotation is optimal for healers during the boss's "Eclipse Sequence," which consists of two heavy raid-wide damage hits?
Split healing cooldowns evenly across both hits
Use all cooldowns on the first hit
Save all cooldowns for the second hit
Only use shields, no direct heals
Splitting major healing cooldowns across both hits in the Eclipse Sequence ensures balanced mitigation and prevents the second hit from overwhelming the raid. Focusing entirely on one hit leaves the other under-mitigated.
Which environmental hazard appears immediately after the boss casts "Stellar Rupture"?
Laser walls spanning the arena
Pools of poison spreading
Random rockfalls
Void pools on the ground
Stellar Rupture is followed by laser walls that crisscross the arena, requiring players to navigate safe gaps. The other hazards are used in different phases.
What is the correct order of add spawns in Phase Two?
Primary add, secondary adds, then final add
Secondary adds first, then primary add
All adds spawn simultaneously
Final add spawns before secondary adds
Phase Two always spawns the primary add first, followed by secondary adds, and finally the last add. Other sequences do not match the encounter design.
At which point in the encounter does the raid need to complete a spread mechanic called "Singularity"?
In the final phase
After the first add wave
At 75% boss health
Immediately at pull
Singularity is introduced in the final phase of the fight and requires the raid to spread out immediately when cast. It does not occur earlier in the encounter.
How many safe zones are created by the "Void Rift" mechanic?
Three
One
Two
Four
Void Rift spawns three safe zones at fixed points in the arena. Choosing any other number would leave players without valid safe locations.
To maximize DPS uptime, when should melee DPS use their positional skills in relation to the "Gravity Well"?
After the orbs have exploded
Before the orbs spawn
While the orbs are tethered
During the final phase only
Melee DPS should delay positional skills until after Gravity Well orbs have exploded to avoid movement restrictions and ensure full uptime on the boss. Using them prematurely risks missing the damage window.
Which strategy minimizes raid damage during "Solar Flare" when combined with "Alpha Burst" immediately after?
Apply shields before Solar Flare, then heal after Alpha Burst
Never overlap the two mechanics
Overlap both and use cooldowns only after
Move to safe zones then shield
Applying shields right before Solar Flare and then following up with healing after Alpha Burst mitigates both big hits effectively. Avoiding overlap or improper sequencing can overwhelm healers.
In the final phase, "Supernova Collapse" and "Entropy Field" overlap. What is the optimal cooldown overlap strategy?
Split cooldowns evenly across both mechanics
Use all cooldowns on Supernova Collapse
Save all cooldowns for after Entropy Field
Do not overlap any cooldowns
Splitting healing cooldowns between Supernova Collapse and Entropy Field ensures neither mechanic overwhelms the raid. Focusing solely on one or saving all for later risks catastrophic damage.
During a double "Photon Beam" cast sequence, how should tanks position the boss to avoid cleaving the raid twice?
Face the boss away on the first cast to the east, then turn west for the second
Face the boss toward the raid then away
Face the boss north both times
Keep the boss facing the same direction each time
By facing the boss away toward the east for the first Photon Beam and then rotating to the west for the second, tanks ensure both cones hit empty space. Keeping one direction or inconsistent rotations risks hitting the raid.
Which sequence of healer cooldown usage is optimal for "Void Collapse", "Entropic Crush", and "Solar Flare" in the final phase?
Tetragrammaton on Void Collapse, Divine Veil on Entropic Crush, Cauterize on Solar Flare
Divine Veil, then Tetra for Entropic Crush, then no CD for Solar Flare
Cauterize for all three mechanics
Only use shields on Solar Flare
Using Tetragrammaton for the heavy raid hit of Void Collapse, Divine Veil for the stacking debuff from Entropic Crush, and Cauterize for the final Solar Flare ensures optimal mitigation tailored to each mechanic.
During the environmental hazard "Obliterating Resonance", the room periodically dims. Which add spawn pattern should be anticipated during these windows?
Secondary adds spawn when the arena is dark
Primary adds spawn when dark
Both add types spawn only when bright
No adds spawn during dark phases
Obliterating Resonance dims the room and triggers the spawn of secondary adds during the dark windows. Knowing this timing helps the raid prepare crowd control and AoE.
To achieve optimal damage during the "Final Convergence" DPS phase, which DPS pattern should the raid adopt?
Alternate single-target and AoE skills in sync with safe-zone windows
Focus only on single-target skills throughout
Use only AoE rotations for the duration
Stack all DPS buffs before any attacks
Alternating between single-target and AoE skills aligned with the appearance of safe zones maximizes damage while avoiding environmental hazards. Solely focusing on one skill type leaves potential DPS on the table.
0
{"name":"Which boss ability applies a stacking raid-wide damage buff at the start of Phase 1?", "url":"https://www.quiz-maker.com/QPREVIEW","txt":"Which boss ability applies a stacking raid-wide damage buff at the start of Phase 1?, During the \"Solar Flare\" raid-wide AoE, players should place themselves:, How should the tank position the boss to properly handle the \"Photon Beam\" frontal cone?","img":"https://www.quiz-maker.com/3012/images/ogquiz.png"}

Learning Outcomes

  1. Identify key boss mechanics specific to FFXIV E11S encounters
  2. Analyse positioning requirements for raid-wide and targeted attacks
  3. Apply cooldown management strategies for complex boss phases
  4. Evaluate timing of tank swaps and healing cooldown usage
  5. Master the sequencing of add spawns and environmental hazards

Cheat Sheet

  1. Understand Themis's Main Mechanics - Dive into Jury Overruling, Upheld Overruling, Divisive Overruling, and Dismissal Overruling in both their light and dark variants. Recognizing these patterns gives you the edge to react faster and adapt your strategy on the fly. Embrace the chaos of Themis's toolkit! Eleventh Circle Savage Raid Guide on Icy Veins
  2. Master Positioning for Raid-Wide Attacks - When Themis unleashes Arcane Revelation and Shadowed Messengers, your spot matters! Place yourself to share damage smartly and squeeze every bit of survival out of your cooldowns. Perfect positioning can turn a potential wipe into a win! Eleventh Circle Savage Raid Guide on Icy Veins
  3. Effective Cooldown Management - Timing is everything when it comes to defensive cooldowns during Styx and Dike. Plan your shields and damage reductions so you're not caught scrambling, and your party will thank you for the extra HP. Eleventh Circle Savage Raid Guide on Icy Veins
  4. Timing Tank Swaps - Coordinate your tank swaps perfectly during Dike to handle elemental resistance debuffs and soak those big hits. Seamless swaps keep DPS uptime high and mitigate stacked damage like a pro. Eleventh Circle Savage Raid Guide on Icy Veins
  5. Healing Cooldown Utilization - Deploy your big heals strategically during Eunomia and Styx to keep the raid healthy. Knowing when to drop shields, regeneration, and emergency heals can be the difference between a clutch save and a party fail. Eleventh Circle Savage Raid Guide on Icy Veins
  6. Sequencing of Add Spawns - Learn the order and timing of Shadowed Messengers to prevent getting overwhelmed by adds. Assign targets early and coordinate crowd control so the battlefield stays tidy and under control. Eleventh Circle Savage Raid Guide on Icy Veins
  7. Environmental Hazard Awareness - Keep an eye on the arena for Lightstream and Dark Current hazards that can split or damage your group. Quick moves to safe zones and team calls will keep accidental squishes to a minimum. Eleventh Circle Savage Raid Guide on Icy Veins
  8. Boss Positioning Techniques - Always face Themis north to give melee DPS solid uptime windows and keep cleave angles predictable. Clear communication on boss placement prevents clumping issues and accidental hits. Tank Positioning Tips for Patch 7.05
  9. Utilizing Tank Self-Healing Abilities - Tanks, don't forget skills like Warrior's Equilibrium and Nascent Flash to lighten the healer's load. Smart self-heals during intense damage spikes can keep your HP bar - and your healer's sanity - intact. Exploring Tank Healing Benefits
  10. Managing Healing Resources - For Sage healers, wrangle that Addersgall Gauge to secure MP sustainability and efficient heals throughout long pulls. Proper timing of your gauge skills ensures you never run dry when the raid needs you most. Sage Healing Rotation & Ability Priority Guide
Powered by: Quiz Maker